Archives for posts with tag: diy

After having seen my friend Aimee Smith do this to her outdoor, plastic kid gear at least two years ago, I told Matt we needed to remember that trick. Our own playhouse had fallen into disrepair and nature was taking it over. Spiders everywhere inside (along with their cobwebs and egg sacks). Dirt, dust, and leaves coating all surfaces. The Texas sun had been beating down, fading the once bright doors, shutters, and roof.

This picture, taken with my magic camera that makes everything look better, does not do justice to how dirty and faded it had become.

This picture, taken with my magic camera that makes everything look better, does not do justice to how dirty and faded it had become.


Scary lair of spiders, wasps, and possibly badgers

Scary lair of spiders, wasps, and possibly bears

It was just not a place I could confidently smile and say to the girls, “Your playhouse? Sure! The odds are slim that you’ll make it out of there without several bites, stings, or rashes. Go for it!” I learned my lesson two weeks ago when poor, defenseless Cortland wandered inside while Harper and I were watering the garden. Shrieking ensued. Swelling commenced. Wasp sting right on her chubby, little, dimpled baby hand.  I did find the wasp nest later when I was scrubbing. The little devils had made a huge home under the fold-down table. That was the last straw. (Side bar: Cortland’s wasp sting was instantly soothed and the swelling stopped when I put Purification essential oil from Young Living  on it).

And now, a picture tour of the process:
Matt giving things a good spray down

Matt giving things a good spray down

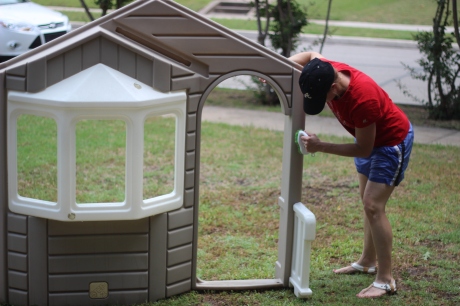
Scrubbing the grime away. This was the most tedious part, but so necessary.

Scrubbing the grime away. This was the most tedious part, but so necessary. In fact, we had planned to paint the main body, but the scrub down made such a difference, we left the tan as-is.

Matt built a platform to set the entire structure on so that the inside will hopefully not get SO dirty SO fast.

Matt built a platform (out of trashed wooden fence sections that a neighbor had discarded) to set the entire structure on so that the inside will hopefully not get SO dirty SO fast.

Spray paint. There are two types for outdoor plastics (at least with the brand we bought at WalMart). One has a picture of a playhouse on it and one just says it can be used on plastic. SPEND THE EXTRA BUCK and get the one with the playhouse picture. We got a couple of each and the cheaper one was runny and difficult to use (the cheap one we used on the yellow shutters and it was way more splotchy).

Spray paint. There are two types for outdoor plastics (at least with the brand we bought at WalMart). One has a picture of a playhouse on it and one just says it can be used on plastic. SPEND THE EXTRA BUCK and get the one with the playhouse picture. We got a couple of each and the cheaper one was runny and difficult to use (the cheap one we used on the yellow shutters and it was way more splotchy…you can tell in some of the pictures).

Fancy, schmancy "wood floors"

Fancy, schmancy “wood floors”

Matt made a little planter box, which I stuck some fake flowers inside.

Matt made a little planter box, which I stuck some fake flowers inside.

Finished it off with a flag and some mulch (which always makes everything look better).

Finished it off with a flag and some mulch (which always makes everything look better).

Our playhouse was a hand-me-down, but I looked it up online to see how much it retails for: $500.00. FIVE HUNDRED DOLLARS. Do yourself a favor if you’re in the market for one of these. Go find a dirty, faded, garage sale playhouse for $10, spend $25 in spray paint, and make a custom-colored house for your kid. Also, get this: Within 45 minutes of putting the made-over house back together, the wasps showed up again! I’m killing them one-by-one right now, but does anybody have any tips for keeping them at bay without dousing the structure in poison?
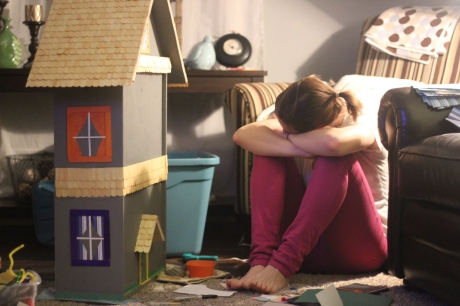
I fell off the blog-wagon there for awhile and it’s because I was spending every free the-girls-are-finally-asleep minute making this:

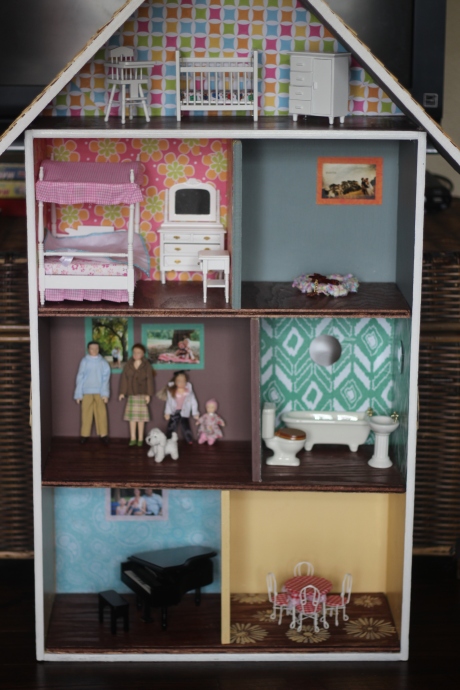
Harper's Dollhouse

Harper’s Dollhouse

I’m not even going to pretend that I don’t think it’s that cool because I’m really quite pleased. Harper has been into dollhouses since her cousin Ava shared hers one afternoon a few months back while we were at their house. Matt and I decided that we’d give Harper a dollhouse for her 4th birthday (which was earlier this month). We are both partial to the wooden, realistic-looking variety of dollhouses, but have you priced those things out recently?? Holy cow. Finished for youKit that you put together. Soooooo…Matt and I did what we usually do when we want something that is too expensive. We tried to make it ourselves. Every DIY attempt doesn’t always end up looking right, but this one did.

Matt found a big, deep drawer at ReStore for 97 cents. That became the main structure. He then went to Home Depot and found a nice big piece of scraped (clearanced) plywood for about $9. After that, he used his man-intuition (along with a tape measure and saw) to build floor levels (which he also stained), room dividers, and a pitched roof (also, the little front door porch). After that, I added the color and detail. I used scrap book paper (plus modge podge to seal it on) and paint for the walls. On the outside, I hot glued popsicle sticks and used more scrap book paper to make windows/embellishments. Oh – I also had wallet sized family pictures printed, which I “framed” and modge-podged to the walls. We bought little roof shingles at Hobby Lobby, which I hot glued to the plywood. Including supplies that I already had at home, we did not spend more than $25 to build this thing and it is S.T.U.R.D.Y. This last weekend, we had a “house-warming” party for Harper with family and everyone contributed to furnish rooms in the house. Harper was totally surprised and, I mean, LOVES the dollhouse. And I quote, “I love it! Thank you, everyone! You guys are the BEST!” We still have a couple more rooms to put furniture in, but she’s having a blast with her little family and their space. And now, a picture tour of the process.

The drawer on Day 1

The drawer on Day 1

Starting on the rooms

Starting on the rooms

With Matt's roof attached

With Matt’s roof attached

All the rooms "colored"

All the rooms “colored”

With shingles ... this step made a world of difference!

With shingles … this step made a world of difference!

Resting between windows

Resting between windows

Views from the outside

Views from the outside

finished 004 finished 005

finished 007

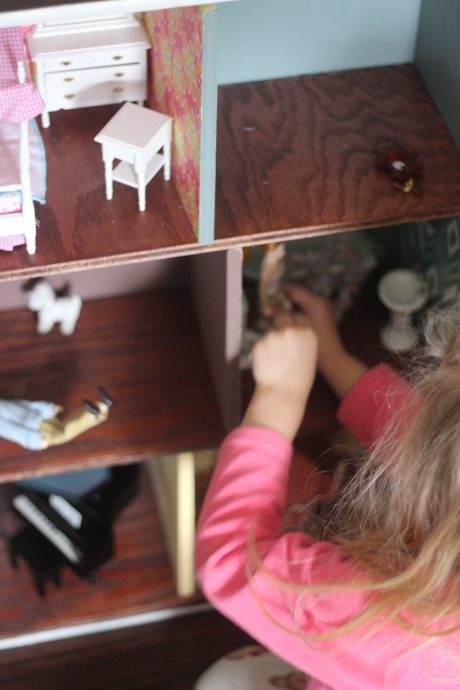
Views from the inside

Views from the inside

finished 016 finished 015

Harper's Dollhouse

Harper’s Dollhouse

planks of wood, rustic wall art

My blank slate - thanks, Honey!

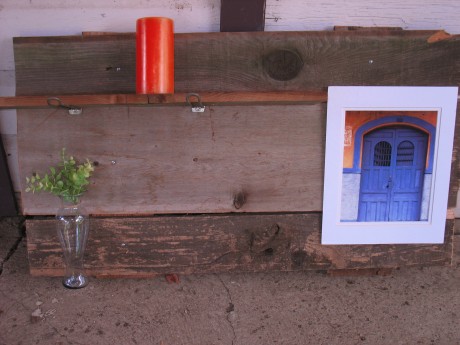
In January, a neighbor of ours was tearing down an old fence. Being the opportunist that he is, Matt asked if we could have a few planks and then built me a really cool “blank slate” for me to decorate. Love it! Months later we were shopping in West Elm and noticed they were using wooden planks just like ours in their decoration. Definitely inspired me to do something cool with mine.

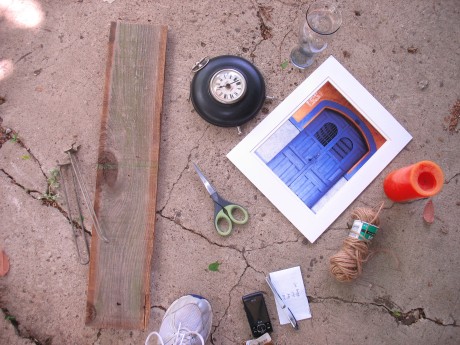
candle, clock, picture

Brainstorming

Knowing which room I wanted to display the piece, I grabbed some items from inside the house and started playing around with where it should all go. I actually didn’t end up using any of the original items in the finished product…Trial and error approach!

piecing things together

Experimentation

Finding everything a home.

displayed in room

Finished project up on the wall

We love the final product are proudly displaying it in our guest bedroom! We plan to get real brackets for the shelf (these are borrowed from the peg wall in our garage) – I just couldn’t wait for a trip to Home Depot to get this puppy finished. Matt thought the bottom half was a little too busy and suggested taking down the wire basket and mirror, replacing them with more varying sizes of bud vases. Great idea – we’ll try it!

guest bedroom

Done for now.

The end!